01
28
26
兰州大学党委第四巡视组巡视日本无人区码卡二卡三卡党委动员会召开
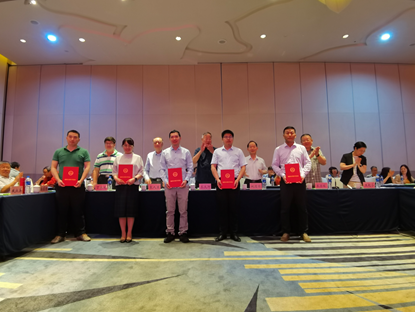
兰州大学曹泊教授荣获2023年度“施雅风冰冻圈与环境青年科学家奖”
哈萨克国立农业研究型大学代表团来访
报 告 人:龙瑞军 教授
报告时间:2024-04-11 16:30:00
报告地点:秦岭堂B105
4月9日Arash Malekian教授学术报告
4月11日侯彦东教授学术报告
4月11日郭磊副研究员学术报告
2024年春季学期“毓秀资环·中外讲坛”(第一讲)--博士阶段国际交流及联合培养经验分享
一、复试人员名单详见附件(备注:1.名单是各学科根据考生专业背景等综合因素,结合学科发展需要筛选的意向调剂考生。以上考生自愿参加复试,如放弃请来邮件告知学科点(学科点邮箱详见《日本无人区码卡二卡三卡2024年硕士研究生招生复试安排》),以免影响其他考生判断。2.跨学科门类调剂的上级部门正在进行审批,自愿参加复试。若后续跨门类审核未通过,教育部系统无法填报,国家调剂系统无法录取。)二、第二批复试安排序号专业复试...
依据《兰州大学共青团“五四评优”表彰评选办法》(团委发〔2019〕14号)以及《关于开展兰州大学2023年度“五四评优”表彰工作的通知》的要求,经分类申报、学院团委审核推荐、学院党委审批,现将兰州大学日本无人区码卡二卡三卡“青年五四奖章”及“五四评优”拟推荐名单公示如下:一、兰州大学青年五四奖章王梅梅二、兰州大学五四红旗团支部2021级自然地理与资源环境团支部2022级地理信息科学团支部2022级自然地理学研究生第一团支部三...
各位考生:现将日本无人区码卡二卡三卡2024年硕士研究生第二批次招生成绩进行公示。公示时间:2024年4月8日至4月9日。最终拟录取结果以教育部中国研究生招生信息网“网上调剂”系统为准。公示期间,如有异议,请向学院反映。联系人:李老师联系方式:0931-891024
序号专业复试开始时间复试地点联系邮箱可用指标(如后续学校增加计划指标,将依次递补)备注1人文地理学4月15日上午10:00观云楼1009pangjx@lzu.edu.cn1请第二批复试考生(调剂考生)(补充)请在4月9日12:00前登录我校“复试考生一贯表现材料提交系统”(网址:https://yjszs.lzu.edu.cn/lzuyjsytjxt/),按系统提示提交个人一贯表现相关材料


 兰州大学
兰州大学 English
 zyhjxy@lzu.edu.cn